
RV Pre‑Delivery Inspection: What to Check Before Taking Your Trailer Home
A thorough RV pre-delivery inspection should test every major system before departure. Use this checklist to document the walkthrough and leave with fewer surprises.
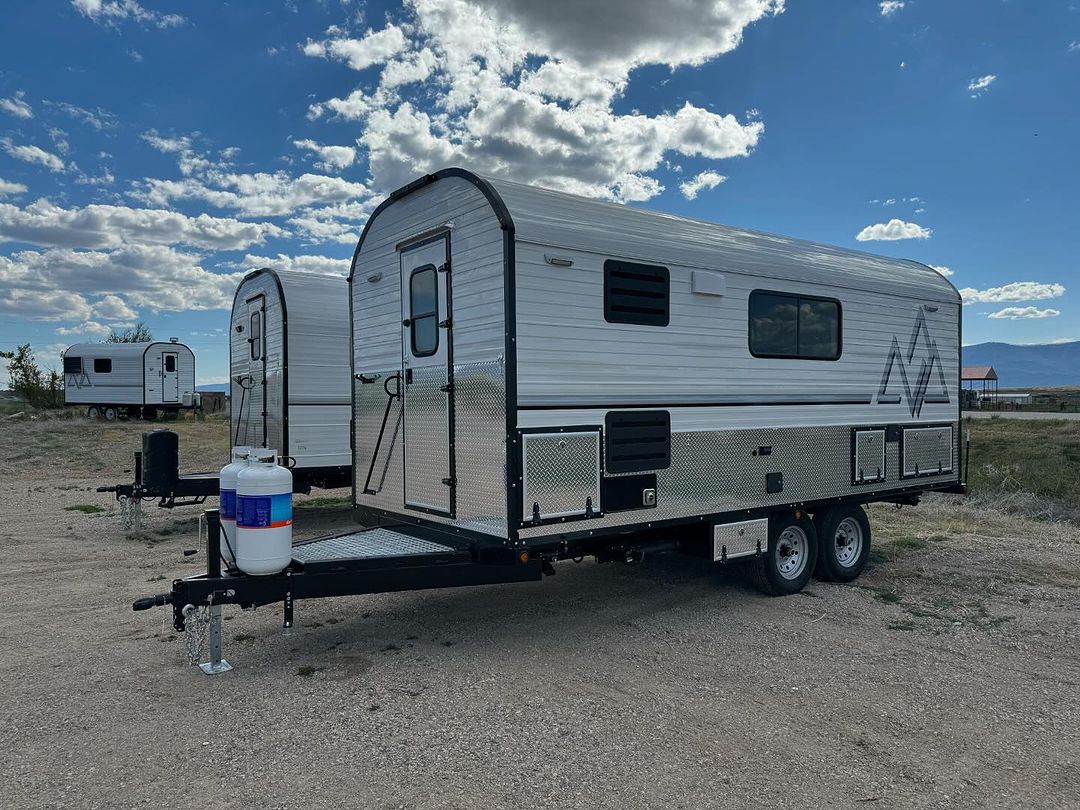
Taking delivery of a trailer should feel exciting, but it should not be rushed. A pre-delivery inspection, often called a PDI, is the final systematic check of the trailer before it leaves the builder or dealer. It is also the best time to learn how the systems work, document anything that needs attention, and make sure the finished trailer matches what you ordered.
A useful PDI is more than a quick walkaround. The trailer should be connected to the utilities and equipment needed to operate its major systems. Doors should open, appliances should run, tanks and plumbing should be tested, and the customer should have time to ask questions.
What a Pre-Delivery Inspection Should Accomplish
The goal is simple: verify that the trailer is complete, functional, safe to tow, and ready for its intended use. The inspection should identify concerns before departure, when the people, tools, and parts needed to address them are close at hand.
Bring a copy of the build sheet or sales agreement, a phone for photos and notes, and enough time to move through the trailer carefully. Ask for a written inspection checklist and keep a copy with your records.
Confirm the Trailer and Documentation
- Compare the model, floor plan, dimensions, finishes, appliances, and optional equipment with the approved build sheet.
- Confirm the vehicle identification number on the trailer and paperwork.
- Collect the owner’s manuals, warranties, keys, remote controls, and maintenance information supplied with the trailer.
- Review weight information, tire specifications, hitch requirements, and the trailer’s electrical connection with the tow vehicle.
- Make sure you know the locations of shutoffs, breakers, fuses, drains, access panels, and emergency equipment.
Inspect the Exterior from Top to Bottom
Walk around the trailer slowly in good light. Look for damage, incomplete sealant, loose trim, gaps, or anything that appears out of alignment. From a safe viewing position, inspect roof penetrations and seams; roof access should be handled only as permitted by the manufacturer and with proper fall protection.
- Check the roof, windows, exterior lights, vents, doors, hatches, and utility connections for secure installation and complete seals.
- Open and close every exterior compartment. Test locks, latches, hold-open hardware, and weather seals.
- Inspect the frame, coupler, safety chains, breakaway switch, jack, stabilizers, steps, and any mounted accessories.
- Verify tire size, condition, pressure, and date codes. Ask the technician to confirm wheel fastener torque and explain the required recheck interval.
- Connect the tow vehicle and test running lights, brake lights, turn signals, electric brakes, and the breakaway system according to the manufacturers’ instructions.
Test Every Door, Window, and Moving Part
Small fit-and-finish concerns are easier to find when you operate everything rather than only looking at it. Open and close every entry door, interior door, drawer, cabinet, window, shade, vent, table, bed platform, and access panel. Hardware should move smoothly, stay secured for travel, and avoid rubbing nearby surfaces.
If the trailer includes an awning, slide, lift, powered jack, or other moving equipment, have the technician demonstrate its full operating cycle and manual override procedure. Keep hands and clothing clear of pinch points.
Pressurize and Check the Plumbing System
The fresh-water system should be filled or connected so it can be tested under pressure. Run every faucet and fixture, including hot and cold water where applicable. Look inside cabinets and around fittings for drips, dampness, or movement.
- Test the water pump, city-water connection, faucets, shower, toilet, drains, and water heater.
- Confirm the fresh, gray, and black tank indicators and review the fill, drain, and winterization procedures.
- Check exterior low-point drains, tank valves, caps, and hose connections.
- Verify that sinks and showers drain correctly and that fixtures remain secure.
Propane and combustion-appliance testing should be performed by a qualified technician using the correct equipment. Ask for confirmation that the system has passed its required leak and pressure checks.
Operate the Electrical and Charging Systems
Test the trailer on each available power source that applies to the build. That may include shore power, the battery bank, an inverter, solar charging, a generator, or the tow vehicle’s charge circuit.
- Switch on every interior and exterior light.
- Test receptacles, USB ports, ground-fault circuit interrupters, monitors, fans, pumps, and powered accessories.
- Review the battery disconnect, converter or charger, inverter controls, solar display, breakers, and fuses.
- Confirm that batteries are secured and that accessible wiring is protected from abrasion and movement.
- Ask how to identify normal readings, low-voltage conditions, and faults on the installed equipment.
Do not remove electrical covers or perform energized testing unless you are qualified to do so. The customer walkthrough should focus on safe operation and the information supplied by the equipment manufacturers.
Run Every Appliance
Turn on each installed appliance and allow it enough time to demonstrate normal operation. Depending on the trailer, this may include the furnace, air conditioner, refrigerator, range, water heater, microwave, ventilation equipment, or wood stove.
Ask which energy source each appliance uses, how to change operating modes, what normal startup sounds and indicator lights look like, and what maintenance it requires. Combustion appliances and venting must be inspected and demonstrated safely by a qualified technician.
Verify the Safety Equipment
- Locate and test the smoke, carbon monoxide, and propane alarms according to their instructions.
- Check the fire extinguisher location, charge indicator, mounting, and access.
- Review emergency exits and make sure they open as designed.
- Confirm that the breakaway switch, safety chains, trailer brakes, and required road lighting are functional.
- Ask when alarms, extinguishers, batteries, tires, and other life-safety items must be inspected or replaced.
Use the Customer Walkthrough
A good handoff includes instruction, not just inspection. Have the technician demonstrate the trailer in a logical order, then operate important systems yourself while they are available to answer questions. Record short videos of unfamiliar procedures if the builder permits it.
Write down every concern, even if it appears minor. Agree on which items will be corrected before departure and how any remaining work will be documented. Do not rely on memory or a verbal promise when a written note can prevent confusion later.
Questions to Ask Before You Leave
- Which maintenance tasks are due after the first trip or first few hundred miles?
- When should wheel fastener torque, tire pressure, seals, and battery condition be rechecked?
- How should the trailer be winterized, de-winterized, sanitized, and stored?
- What should you do if an alarm, breaker, fuse, appliance, or monitor indicates a fault?
- Who should you contact for warranty questions, service, or replacement parts?
Take the Time to Leave Confident
The best pre-delivery inspection is thorough, documented, and unhurried. It gives the builder an opportunity to correct concerns and gives the owner a practical understanding of the trailer before the first trip.
At Peak Outdoors, the handoff is part of the build experience. We encourage customers to ask questions, learn the installed systems, and understand the maintenance their custom camp will need. A careful walkthrough helps everyone begin with the same expectations—and helps the first trip start with confidence.
Planning a custom camp? Bring your intended terrain, season, tow vehicle, power needs, and must-have features into the conversation early. Those details shape both the build and the final inspection.
Comments
Have a question or something useful to add? Share it with other Peak Outdoors readers.