
How to Prevent and Clear an RV Black Tank Buildup
Prevent black-tank buildup with correct water use and dumping habits, learn safer ways to address an obstruction, and know when to call an RV technician.
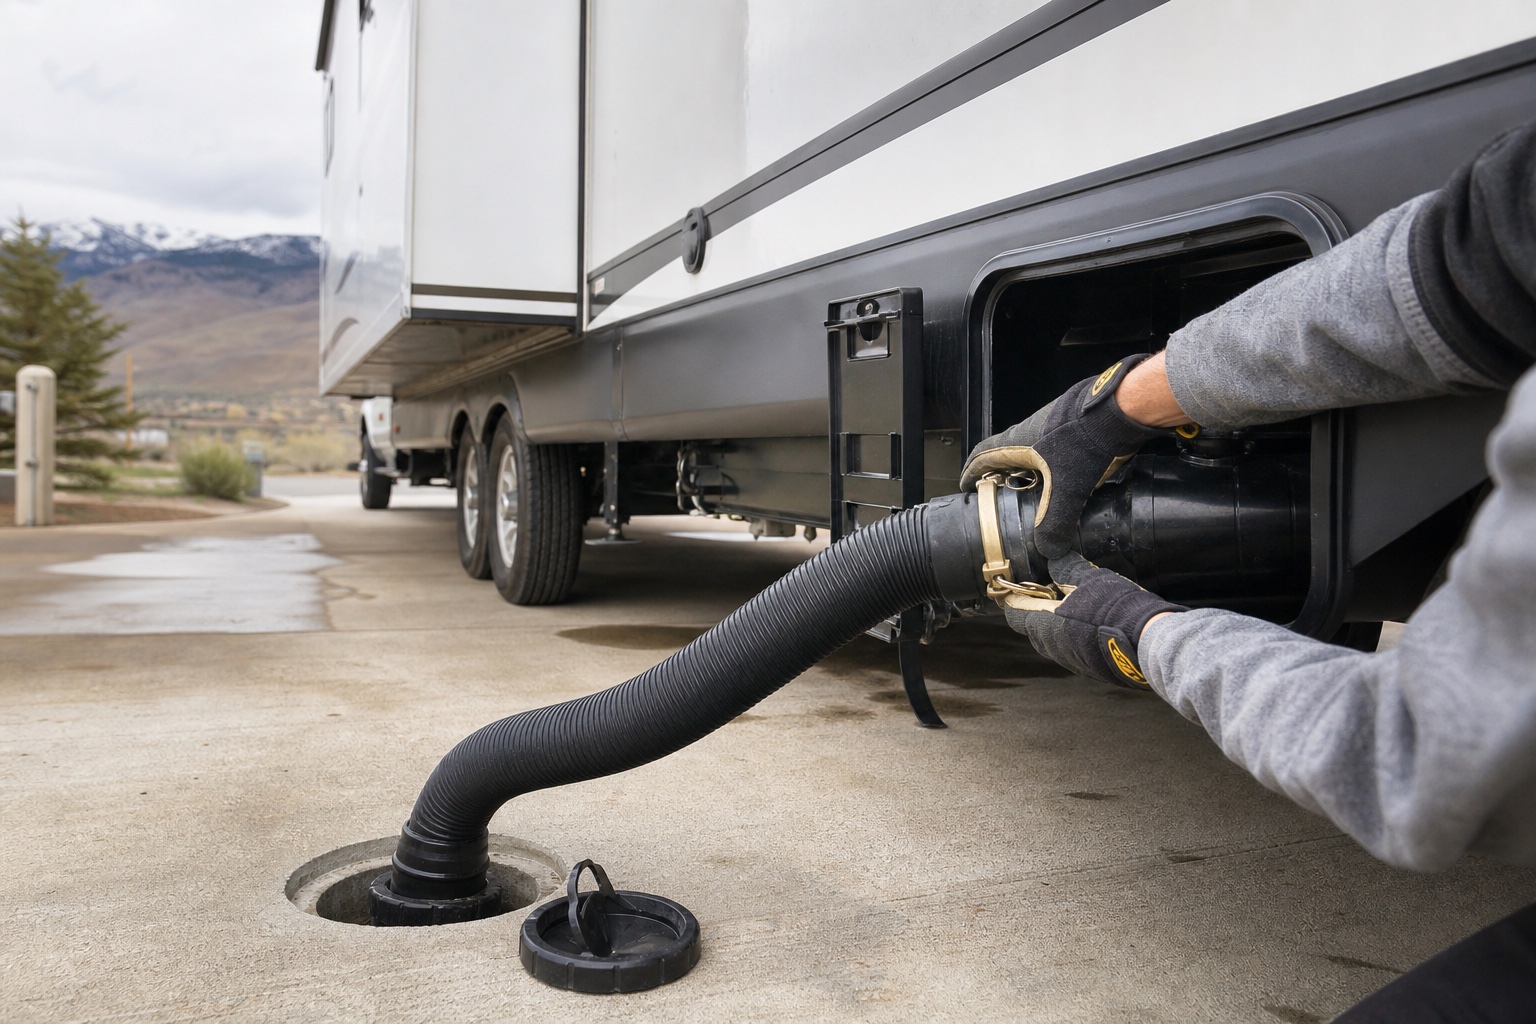
An RV black tank needs enough liquid to move waste out when the tank is dumped. When the dump valve is left open or too little water is used, liquid can drain away while solids and toilet paper remain. Over time, that material can build into a hard mound beneath the toilet—often called a black-tank pyramid—and restrict normal drainage.
Work safely: Black-water systems can expose you to sewage and harmful bacteria. Wear disposable gloves, avoid splashes, wash your hands thoroughly, and use only an approved dump station. Follow the owner’s manual for your RV, toilet, tank-flush system, and any treatment product. If wastewater is backing up, a valve will not operate, or you cannot clear the tank without opening plumbing connections, stop and contact an RV service professional.
What causes black-tank buildup?
The most common cause is leaving the black-tank valve open while connected to a sewer hookup. Liquid continually drains away, but solids can settle on the bottom of the tank instead of leaving in a strong flow. Using too little water, dumping an almost-empty tank, or allowing waste to remain during storage can make the problem worse.
A blocked tank is different from an inaccurate level sensor. Residue on sensor probes can make the monitor read full even after the tank has drained. If the tank empties normally but the gauge remains inaccurate, the sensors may need cleaning rather than the tank needing to be unclogged.
How to prevent a black-tank pyramid
Keep the dump valve closed during use
Even at a full-hookup campsite, keep the black-tank valve closed until you are ready to dump. The stored liquid helps carry solids through the valve and sewer hose. Monitor the tank level and follow the dumping guidance for your specific RV.
Use enough water with every flush
Water is the primary tool that keeps waste moving. Add water to the bowl before use when needed, then flush long enough to move the contents completely into the tank. After dumping, add the amount of water recommended by the RV or toilet manufacturer so the tank does not begin its next use completely dry.
Use compatible paper and treatments
Use toilet paper approved by the RV or toilet manufacturer and avoid flushing wipes, paper towels, hygiene products, grease, food, or other debris. If you use a holding-tank treatment, choose a product made for RV wastewater systems and follow its label. More chemical is not necessarily better, and a treatment cannot replace adequate water or correct dumping practices.
Dump with enough liquid in the tank
Dumping too frequently can leave too little liquid to carry solids out effectively. Let the tank reach the level recommended in the owner’s manual. If you need to dump early, add water first when the manufacturer permits it.
A safer black-tank dumping routine
- Park at an approved dump station, set the parking brake, and wear disposable gloves.
- Confirm that both waste valves are closed before removing the outlet cap.
- Securely connect a sewer hose that is in good condition to the RV outlet and dump inlet.
- Open the black-tank valve and allow the tank to drain completely.
- Use the built-in tank flush only according to its instructions. A dedicated non-potable-water hose should be used, and the drain valve generally must remain open while flushing.
- Never leave a flushing tank unattended. An overfilled black tank can flood the RV or damage the wastewater system.
- Close the black-tank valve, then dump the gray tank to help rinse the sewer hose.
- Disconnect carefully, replace the outlet cap, clean the equipment, remove the gloves, and wash your hands.
How to address an existing buildup
If the tank still drains but you suspect buildup, start with the least aggressive manufacturer-approved method. Empty the tank at an approved station, add the specified amount of water and an RV holding-tank cleaner labeled for waste deposits, and allow the product to work for the stated time. Dump and rinse again according to the label and the RV manual. A stubborn deposit may require more than one treatment.
If your RV has a built-in black-tank flush, use it exactly as directed. A toilet-mounted rinsing wand may be another option when the toilet and tank layout allow direct access, but use a hose dedicated to wastewater service and control spray carefully. Never insert tools that can damage the toilet seal, tank, sensors, or plumbing.
Do not use hazardous shortcuts
- Do not pour boiling water into the toilet or tank; extreme heat can damage seals, valves, tanks, or plumbing.
- Do not use household drain opener, caustic chemicals, or products not approved for RV wastewater systems.
- Do not pressurize the tank or seal a flushing connection in a way that can overfill or rupture the system.
- Do not open plumbing connections when the tank contains waste unless you are trained, equipped, and prepared to contain the sewage safely.
- Do not continue using a toilet that is backing up or a tank that cannot drain.
When professional service is the right choice
Arrange professional service when the dump valve will not open, the tank does not drain, wastewater backs up into the toilet, a hard obstruction returns after approved cleaning, a valve or pipe is leaking, or the problem requires plumbing disassembly. A technician can distinguish buildup from a failed valve, damaged cable, blocked vent, inaccurate sensor, or other wastewater-system fault.
Peak Outdoors services RV plumbing and holding-tank systems. We can diagnose the cause, recommend the appropriate cleaning or repair, and help you establish a maintenance routine for your specific RV.
Black-tank prevention checklist
- Keep the black-tank valve closed except while dumping.
- Use adequate water with every flush.
- Dump only at an approved facility and with sufficient liquid in the tank.
- Use RV-compatible paper and manufacturer-approved treatments.
- Flush the tank according to the RV’s instructions and never leave it unattended.
- Empty and prepare the tank for storage or winterization as directed by the owner’s manual.
- Call a professional before attempting a repair that would expose you to sewage or damage the system.
Comments
Have a question or something useful to add? Share it with other Peak Outdoors readers.