
Winter RV Camping: How to Stay Warm, Dry, and Prepared
Prepare for cold-weather camping with practical guidance for heating, plumbing, condensation, power, winter travel, and emergency planning.
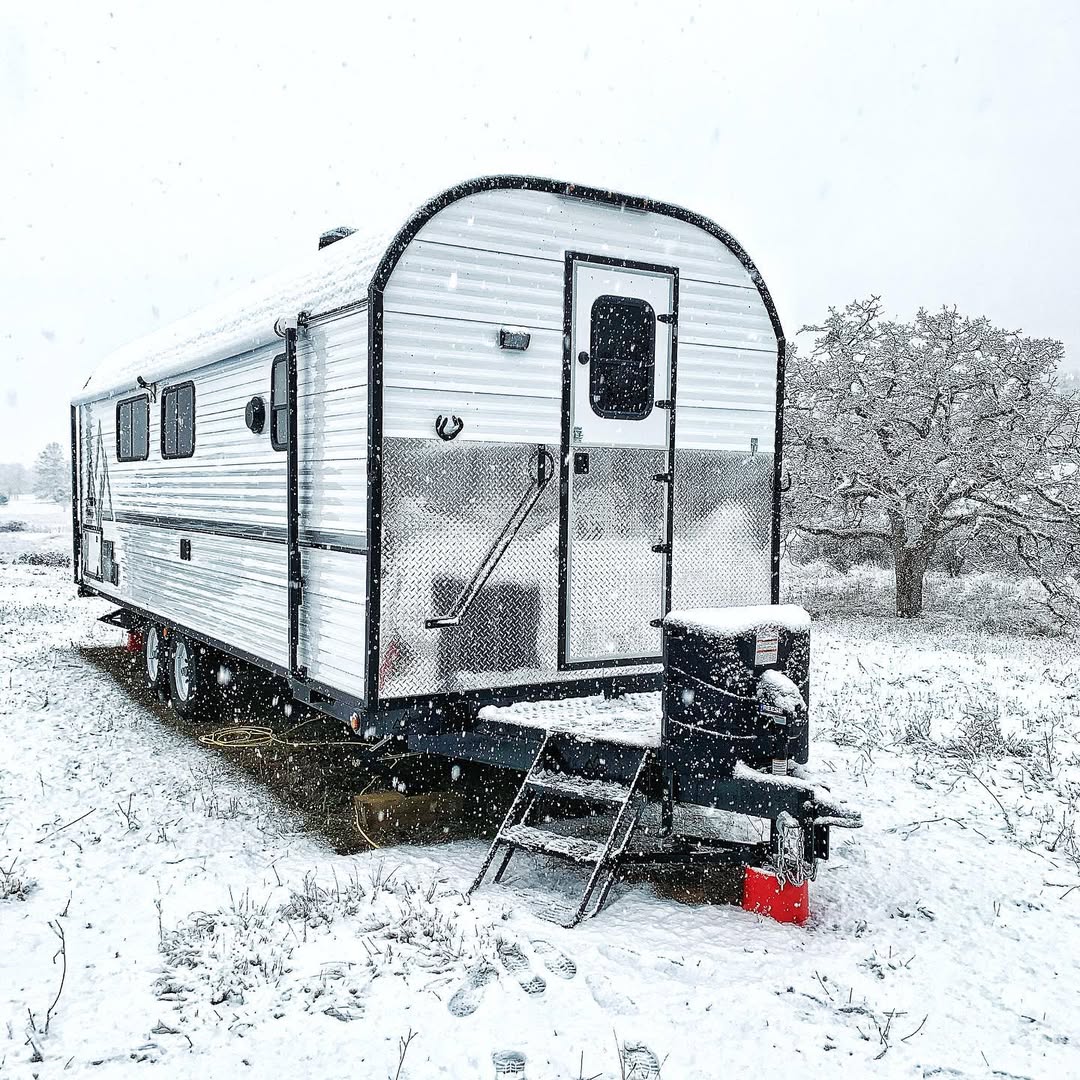
Winter camping can bring quiet campsites, clear skies, and access to places that feel completely different after the temperature drops. It also leaves less room for improvisation. Cold affects plumbing, batteries, fuel use, traction, condensation, and the time you have to correct a small problem.
A successful cold-weather trip starts before the camp leaves the driveway. Use this guide to plan the trailer, route, campsite, and backup options as one system. Always follow the manuals and operating limits for your specific camp, appliances, tow vehicle, and installed equipment.
Begin With the Forecast and the Campsite
Check the forecast for your route as well as your destination. Mountain passes, shaded roads, wind, and overnight lows can create conditions that are very different from the nearest town. Review road restrictions, campground access, seasonal closures, and whether snow removal is dependable.
Know what the site will provide. Confirm electrical service, potable water, propane availability, cellular coverage, and the distance to the nearest safe shelter or service location. If the trip depends on a single utility or road remaining open, build an alternate plan before departure.
Inspect the Camp Before You Leave
Cold weather increases the consequences of deferred maintenance. Complete a focused inspection while the camp is still near tools, parts, and professional help.
- Test the primary heating system. Confirm normal startup, operation, shutdown, and airflow. Follow the appliance manufacturer’s service schedule.
- Test smoke and carbon monoxide alarms. Replace expired alarms and weak batteries. Never disconnect, cover, or silence a life-safety alarm to continue a trip.
- Inspect seals and weatherstripping. Look around doors, windows, roof penetrations, and utility openings for damage or gaps.
- Check batteries and charging equipment. Verify connections, state of charge, and the operation of each charging source included in the build.
- Inspect tires, brakes, lights, and the tow vehicle. Four-wheel drive does not eliminate stopping-distance or traction limits on snow and ice.
- Confirm every exterior vent and exhaust path is clear. Snow, ice, gear, or wind-blown debris must not obstruct required ventilation.
Use Heat Without Creating a New Hazard
Use only heating equipment that is installed or approved for the camp and operate it exactly as directed. Maintain required clearances from bedding, clothing, paper products, and other combustible materials. Never use a cooking appliance, charcoal grill, or portable camp stove to heat the interior.
Portable generators produce carbon monoxide. The Centers for Disease Control and Prevention advises operating generators outdoors, more than 20 feet from doors, windows, and vents. Generator exhaust must face away from occupied spaces, including neighboring camps. Keep a working battery-powered or battery-backup carbon monoxide alarm inside.
If the camp has a professionally installed wood-burning stove, follow the stove, chimney, and camp manufacturer’s instructions. Inspect the system before the season, use the specified fuel, manage ashes safely, and never improvise a flue or heat shield.
Choose a Plumbing Strategy Before the Temperature Drops
Do not assume that running the furnace protects every water line, tank, valve, and exterior connection. The right approach depends on how the plumbing is routed and insulated, which components are heated, the expected low temperature, wind exposure, and whether the camp will remain continuously occupied.
If the installed system is not designed for the expected conditions, the safer plan may be to drain and winterize it according to the manufacturer’s procedure and carry drinking water separately. Do not combine an active-water plan with storage-winterization steps unless the instructions for your exact system call for it.
Control Condensation With Steady Ventilation
People, cooking, and wet clothing add moisture to a small interior quickly. When that warm air meets cold windows, walls, or metal surfaces, water can collect where it is easy to see—and behind furnishings where it is not.
- Use roof vents or other approved ventilation even while heating.
- Run the range hood and bath vent when cooking or showering.
- Dry snow-covered boots and clothing in a controlled area rather than against walls or cushions.
- Keep bedding and stored gear slightly away from cold exterior surfaces so air can circulate.
- Wipe up moisture and investigate recurring wet areas instead of treating them as normal.
Plan Fuel and Power Around the Cold
Heating equipment, fans, controls, pumps, lighting, and connectivity all draw from the camp’s available energy. Cold temperatures can reduce usable battery performance, while longer furnace run times increase electrical and fuel demand.
Estimate expected loads, begin with full batteries and adequate approved fuel, and check levels throughout the trip. Understand which appliances operate from shore power, batteries, propane, or an inverter. A backup plan should include a safe way to leave or reach shelter if the primary heating or power system fails.
Carry a Winter Travel Kit
The National Weather Service recommends checking the forecast and road conditions, sharing your route and arrival plan, preparing the vehicle, and carrying emergency supplies. Adapt the kit to the remoteness and duration of your trip.
- Warm layers, gloves, hats, dry socks, and extra blankets or sleeping bags
- Water and high-calorie, shelf-stable food
- First-aid supplies and required medications
- Flashlights, spare batteries, charging banks, and a weather radio
- Snow shovel, traction aids, tire chains when appropriate, and recovery equipment rated for the vehicles
- Ice scraper, basic tools, spare fuses, and equipment-specific replacement parts
- Printed route information and emergency contacts in case connectivity fails
Know What “Four-Season” Means for Your Build
Cold-weather capability is the result of an entire configuration, not a label. Insulation, air sealing, heating capacity, protected plumbing, window choices, ventilation, battery capacity, and the intended operating temperature all matter. Available equipment and exact specifications vary by custom build.
When planning a Peak camp for winter use, discuss the expected climate, elevation, trip length, utilities, water strategy, and preferred heat source early in the design process. Those details help the team evaluate the complete build instead of treating winter readiness as a single add-on.
Make the Go-or-No-Go Decision Early
Good preparation does not make every forecast safe. If the road, weather, campsite, tow vehicle, or camp system is outside its limits, postpone the trip. Winter camping is most enjoyable when the equipment is ready, the route is realistic, and everyone knows the backup plan.
Comments
Have a question or something useful to add? Share it with other Peak Outdoors readers.