
RV Winterization Checklist: Protect Your Plumbing Before a Freeze
Protect your RV before freezing weather with a model-aware checklist for plumbing, water heaters, appliances, batteries, seals, and storage.
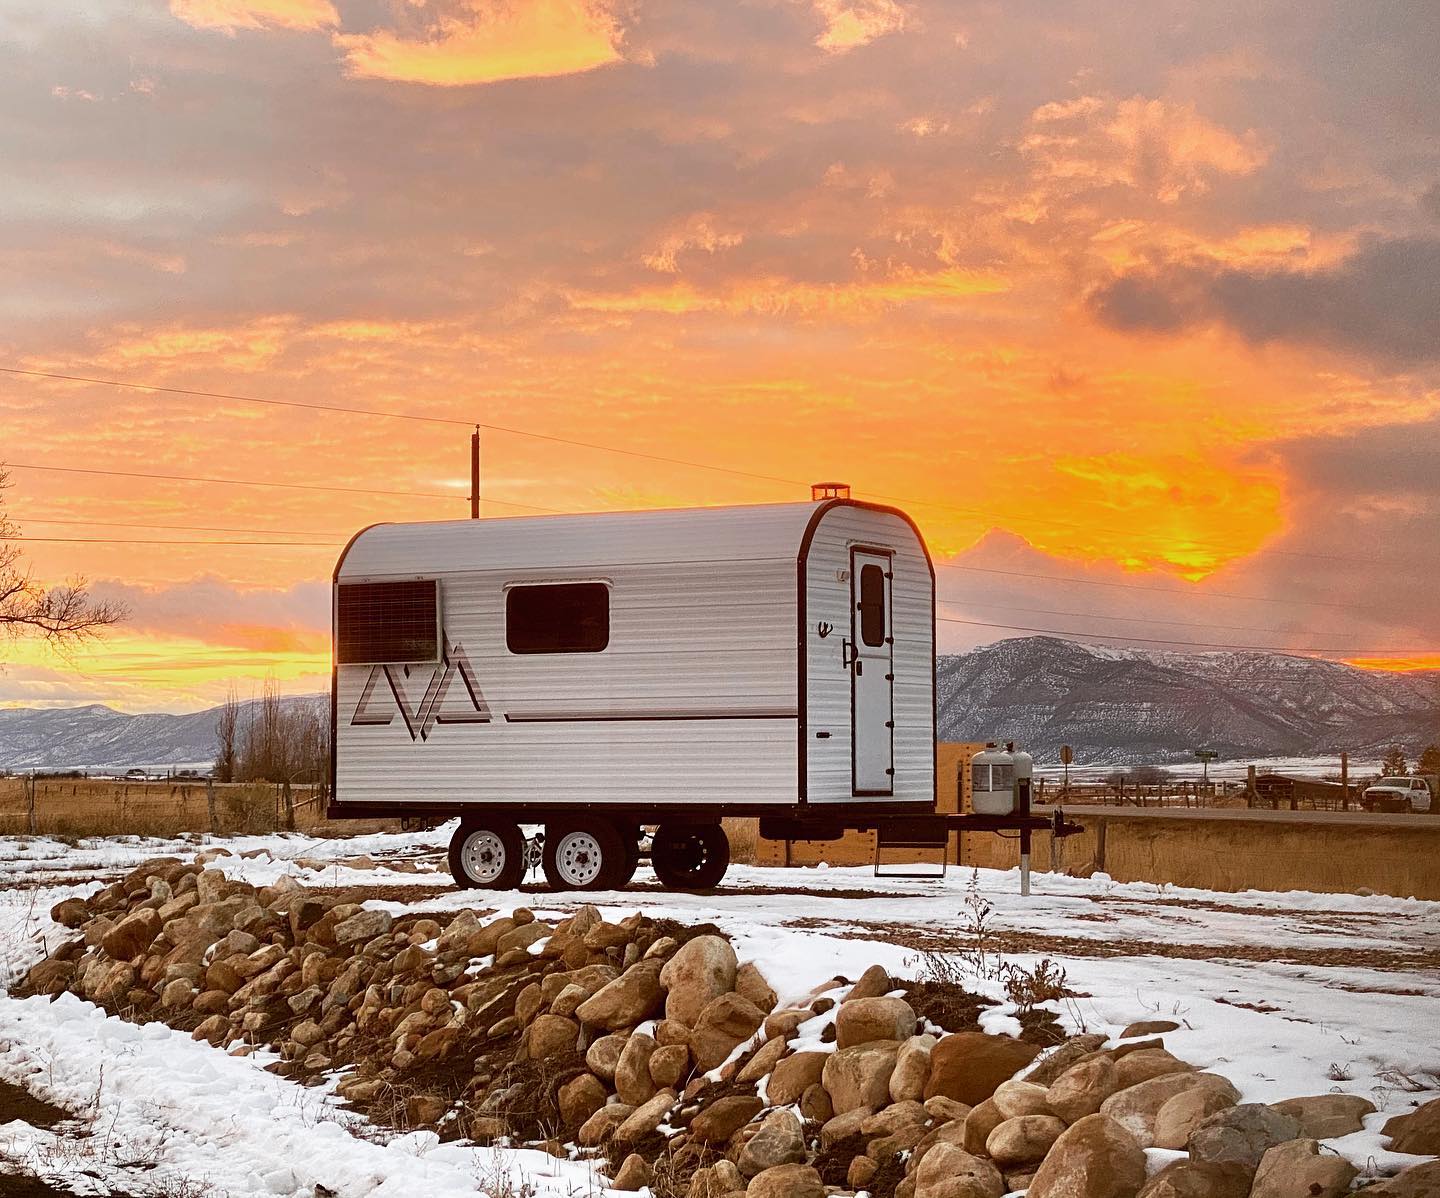
Freezing weather can turn a small amount of trapped water into a split fitting, cracked valve, damaged pump, or costly water-heater repair. Winterizing an RV is the process of removing water from vulnerable components and protecting the plumbing system before temperatures reach freezing.
Start with your owner’s manual: RV plumbing layouts and appliances vary. Tankless water heaters, hydronic heating systems, ice makers, washing machines, water filters, and other equipment may require procedures that differ from a conventional travel trailer. Follow the instructions for your exact RV and every installed component. If the correct valve positions or procedures are unclear, schedule professional winterization.
When should you winterize an RV?
Winterize before the RV is exposed to temperatures at or below 32°F (0°C), unless the manufacturer provides different guidance for your model. Do not wait for an extended hard freeze. Exterior lines, low-point drains, valves, and other components can be vulnerable before the interior of the RV feels especially cold.
Winterization is also appropriate before seasonal storage in a cold climate. If you plan to use the RV through winter, consult the manufacturer about heated compartments, tank heaters, insulation, power requirements, and cold-weather operating limits. Four-season construction can improve cold-weather capability, but it does not eliminate the need to protect plumbing when heat or power may be interrupted.
Supplies to gather
- The owner’s manuals for the RV, water heater, water pump, and optional water-using appliances
- Non-toxic RV/marine antifreeze intended for potable-water systems
- A water-pump winterization or siphon hose, if the RV is equipped to use one
- A water-heater bypass, if required by the RV’s plumbing design
- Basic hand tools and the correct tool for the water-heater drain plug or anode rod
- A bucket, towels, and containers for filters or small parts
- A regulated air compressor and RV blowout adapter only if the approved procedure uses compressed air
- Replacement drain-plug seals, filter bypass plugs, or anode components when required
Never use automotive antifreeze in an RV potable-water system. Use only the product type and quantity specified by the RV and component manufacturers.
1. Shut down and prepare the water system
Disconnect the city-water supply and turn off the water pump. Turn off the water heater in every operating mode—electric, propane, or both—and allow the water to cool completely. Relieve system pressure according to the manufacturer’s instructions before opening drains or removing a water-heater plug.
Empty the black and gray holding tanks at an approved dump station. Flush them if the RV’s procedure calls for it, then close the valves when finished. Remove food, liquids, toiletries, and cleaning products that could freeze or attract pests during storage.
2. Drain the fresh-water system
Open the fresh-water tank drain and the hot- and cold-water low-point drains. Open each faucet to admit air and help the system drain, including the kitchen, bathroom, shower, exterior shower, toilet, and any additional sprayers or fixtures. Keep track of drain caps and seals so they can be reinstalled in the correct locations.
Remove or bypass water-filter cartridges as directed. A filter housing can retain enough water to freeze and crack, and many filters should not be exposed to antifreeze.
3. Drain and bypass the water heater
Confirm again that the water heater is off, cool, depressurized, and disconnected from power. Drain it using the procedure for that specific unit. Conventional tank-style heaters may use a drain plug or anode rod; tankless and hydronic systems can require entirely different steps.
Set the water-heater bypass valves only as directed for the winterization method you are using. The bypass keeps RV antifreeze out of a conventional water-heater tank, saving antifreeze and avoiding unnecessary exposure. Do not assume that every three-valve or single-valve system uses the same handle positions.
4. Protect the water lines
Manufacturers commonly specify one of two approaches: clearing lines with regulated compressed air or pumping non-toxic RV antifreeze through the plumbing. Some procedures use both. Follow the method and maximum air pressure stated in your owner’s manual; excessive pressure can damage fittings, valves, and appliances.
If the approved procedure uses compressed air
Connect a regulated compressor through an RV blowout adapter at the designated inlet. Open one fixture at a time so air is directed through that branch, working through hot and cold sides as instructed. Include the toilet, shower, exterior fixtures, and any manufacturer-listed accessories. Disconnect the compressor when the lines are cleared.
If the approved procedure uses RV antifreeze
Use the built-in winterization connection or a pump siphon hose to draw antifreeze directly from its container whenever the RV is designed for that method. Avoid pouring antifreeze into the fresh-water tank unless the manufacturer specifically instructs you to do so.
With the water heater correctly bypassed and drains configured as directed, run the pump and open one fixture at a time until the specified antifreeze appears. Treat hot and cold sides separately. Include the toilet and exterior fixtures, then turn off the pump and relieve pressure as instructed.
5. Protect drains and special equipment
Add the manufacturer-recommended amount of RV antifreeze to sink and shower traps and, where instructed, to the toilet and holding tanks. Winterize every connected component that can retain water, including an ice maker, washing machine, dishwasher, refrigerator water line, black-tank flush, outdoor kitchen, macerator, or hydronic system. Each may have a separate manual and sequence.
Do not improvise with unfamiliar appliances. An incorrect compressed-air or antifreeze procedure can damage check valves, pumps, heating elements, or seals.
6. Prepare the rest of the RV for storage
- Inspect roof seams, windows, doors, vents, and exterior seals for damage or gaps.
- Clean and dry the refrigerator, then store it with the doors secured slightly open if the manufacturer recommends it.
- Remove food and pest-attracting materials; clean counters, cabinets, and floors.
- Check tire pressure and storage recommendations, including support and movement guidance.
- Follow the battery manufacturer’s instructions for charging, disconnecting, removing, or maintaining batteries.
- Close propane cylinders and service valves only as directed, and never use an open flame to check for leaks.
- Leave smoke, propane, and carbon-monoxide alarms installed. Follow their manufacturers’ storage and battery instructions.
- Use only an RV cover designed for the unit, with proper ventilation and securement, or store the RV indoors when available.
Final winterization check
- Fresh-water tank, holding tanks, low points, and water heater drained as required
- Water heater and filters bypassed or configured correctly
- Every hot and cold fixture protected
- Toilet, exterior shower, and optional water-using appliances completed
- Drain traps and holding tanks protected according to the manual
- Power, batteries, propane, tires, seals, food, and pest prevention addressed
- All removed plugs, caps, filters, and components labeled and stored for spring
When to call a professional
Professional winterization is the safer choice when the valve layout is unclear, the RV has a tankless or hydronic system, appliances have separate winterization procedures, prior freeze damage is suspected, or you cannot verify that every water path has been protected. A service appointment can cost far less than repairing a split line or damaged appliance after a freeze.
Peak Outdoors can winterize the system, inspect common problem areas, and document what will need to be reversed when the RV returns to service. Schedule early—before the first hard freeze is in the forecast.
Comments
Have a question or something useful to add? Share it with other Peak Outdoors readers.